Table of Contents
As an Amazon Associate, we earn from qualifying purchases. This means we may receive a small commission at no extra cost to you when you buy through links on this page.
Why Cleaning Your Wireless Earbuds Matters
Wireless earbuds have become an essential part of modern life, accompanying us on commutes, workouts, and everything in between. But with frequent use comes exposure to earwax, dust, sweat, and other debris. Ignoring this build-up isn’t just unhygienic; it can significantly impact your audio experience and the longevity of your investment. Regular cleaning maintains optimal sound quality by ensuring nothing obstructs the speaker drivers. Earwax and moisture can also corrode internal components, potentially shortening your earbuds’ battery life and even causing them to fail prematurely. A clean exterior also contributes to a more comfortable and pleasant listening experience.
What You’ll Need: Essential Cleaning Tools (2026)
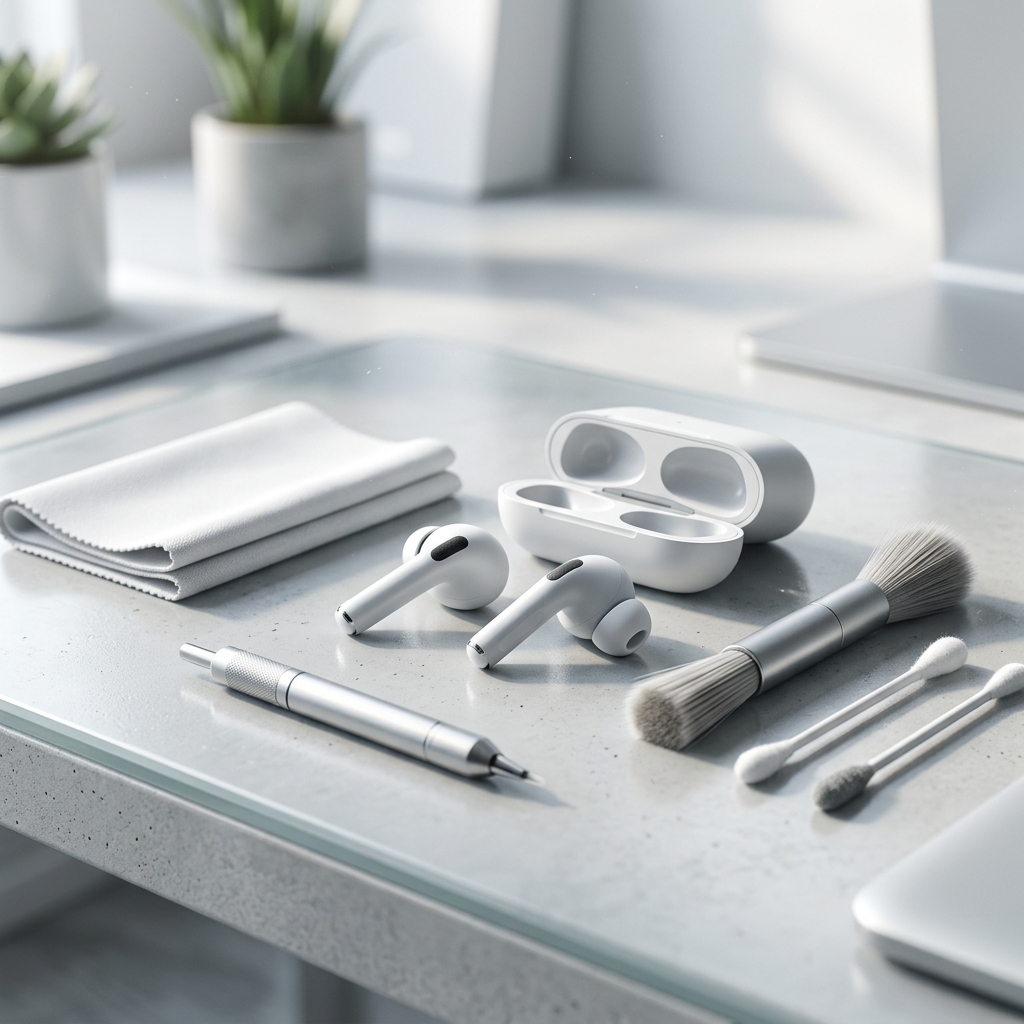
Thankfully, keeping your earbuds spick and span doesn’t require a trip to a specialist. Here’s a rundown of the tools you’ll need, readily available from most electronics retailers and online:
- Microfiber Cloths: Essential for gently wiping surfaces without scratching.
- Soft-Bristled Brush: An old, clean toothbrush is ideal for dislodging debris from grilles and crevices. Specialist electronics cleaning brushes are also available.
- Compressed Air: Canned air remains popular, but increasingly, reusable electric compressed air dusters offer a more eco-friendly and cost-effective solution.
- Isopropyl Alcohol: (70% concentration is recommended) Use sparingly for stubborn grime. Avoid higher concentrations as they can damage certain plastics.
- Detailing Tools: Small plastic or wooden picks (avoid metal) can help gently remove earwax from tight spots.
- UV Sanitizing Box: A newer addition to the cleaning arsenal, these boxes use UV-C light to kill bacteria and viruses on your earbuds and accessories.
Cleaning Tool Comparison (2026)
| Product Name | Price (GBP) | Pros | Cons |
|---|---|---|---|
| iVoltaa Wireless Earbuds Cleaning Kit | £14.99 | Comprehensive kit with multiple tools. Good value for money. | Some tools may feel flimsy. |
| OXO Good Grips Electronics Cleaning Kit | £19.99 | High-quality, durable tools. Ergonomic design. | More expensive than basic kits. |
| WHOOSH! Screen & Tech Cleaner (Earbud Safe) | £12.50 | Excellent for gentle cleaning and removing fingerprints. Non-toxic. | Requires a separate cloth. |
| UV Sanitizing Box for Earbuds & Accessories | £39.99 | Kills bacteria and viruses. Convenient for regular sanitization. | Can be expensive. Doesn’t physically remove debris. |
| Compressed Air Duster (Electric, Reusable) | £29.99 | Eco-friendly alternative to canned air. Powerful and reusable. | Higher initial cost. Requires charging. |
Step-by-Step Guide: Cleaning Your Earbuds
- Power Off: Always turn off your earbuds before cleaning.
- Initial Wipe Down: Use a dry microfiber cloth to wipe the exterior surfaces of the earbuds and the charging case.
- Speaker Grille Cleaning: Gently brush the speaker grilles with a soft-bristled brush to remove any visible debris. Follow up with short bursts of compressed air to dislodge any remaining particles.
- Ear Tip Removal & Cleaning: If your earbuds have removable ear tips (silicone or foam), carefully remove them. Wash them with warm, soapy water. Rinse thoroughly and allow them to dry completely before reattaching.
- Stubborn Grime: Dampen (don’t soak!) a microfiber cloth with a small amount of 70% isopropyl alcohol. Gently wipe away any stubborn grime. Avoid getting liquid into the speaker grilles.
- Charging Port Cleaning: Use compressed air to carefully blow out any debris from the charging ports. A plastic pick can be used *very gently* to dislodge stubborn particles.
- Final Wipe Down: Once everything is dry, give the earbuds and charging case a final wipe down with a clean, dry microfiber cloth.
Important Warnings:
- Never submerge your earbuds or charging case in water or any other liquid.
- Do not use abrasive cleaners or harsh chemicals.
- Avoid excessive moisture. Ensure everything is completely dry before using.
- Be gentle when cleaning the speaker grilles to avoid damaging the drivers.
Cleaning the Charging Case: A Often-Forgotten Step
The charging case is just as important to keep clean as the earbuds themselves. Dust and debris can accumulate inside, interfering with the charging process and potentially damaging the earbuds. Regularly remove any visible lint or debris from the charging slots using compressed air. A cotton swab (slightly dampened with isopropyl alcohol, ensuring it’s not dripping wet) can be used to gently clean the interior of the case. Don’t forget to wipe down the exterior of the case with a microfiber cloth.
Dealing with Stubborn Earwax and Debris
Dried-on earwax can be particularly challenging to remove. Here’s how to tackle it:
- Warm Water Soak (Ear Tips Only): For silicone or foam ear tips, soaking them in warm (not hot) water for a few minutes can help loosen the earwax.
- Isopropyl Alcohol (With Caution): A very small amount of 70% isopropyl alcohol, applied to a microfiber cloth, can help dissolve stubborn residue. Test on an inconspicuous area first.
- Plastic Pick: Use a plastic pick to gently loosen and remove earwax from crevices. Avoid using metal tools, as they can cause damage.
- Professional Cleaning: For particularly stubborn build-up, or if you’re uncomfortable cleaning the earbuds yourself, consider taking them to a professional electronics repair service.
Preventative Maintenance: Keeping Your Earbuds Clean Longer
Prevention is better than cure! Here are some tips for keeping your earbuds clean and extending their lifespan:
- Storage: Store your earbuds in their charging case when not in use.
- Regular Wipes: Wipe down your earbuds with a microfiber cloth after each use.
- Avoid Moisture: Don’t wear your earbuds during strenuous activities where they’re likely to get soaked in sweat.
- Ear Hygiene: Keeping your ears clean will naturally reduce the amount of earwax transferred to your earbuds.
- Case Cleaning: Regularly clean the charging case to prevent dust and debris build-up.
Cleaning Different Earbud Types: A Quick Guide
While the general principles remain the same, different earbud designs require slightly different approaches:
- In-Ear Earbuds: Focus on cleaning the ear tips and speaker grilles.
- Over-Ear Tip Earbuds: Pay attention to the silicone or foam sleeves, ensuring they are thoroughly cleaned and dried.
- Open-Ear Earbuds: These typically require less frequent cleaning as they don’t enter the ear canal. However, the areas that contact the skin still need regular wiping.
- Popular Models (e.g., Apple AirPods Pro, Sony WF-1000XM5): Refer to the manufacturer’s website for specific cleaning instructions, as some models may have unique features or sensitivities.
FAQ
How often should I clean my wireless earbuds?
Ideally, you should wipe down your earbuds with a microfiber cloth after each use. A more thorough cleaning, including grille brushing and ear tip washing, should be done at least once a week, or more frequently if you use them heavily.
Can I use hand sanitiser to clean my earbuds?
While hand sanitiser contains alcohol, it also contains other ingredients that could leave a sticky residue or damage the earbuds. It’s best to stick to 70% isopropyl alcohol diluted with water and applied sparingly to a microfiber cloth.
What happens if I get liquid inside my earbuds?
If liquid gets inside your earbuds, immediately turn them off and do not attempt to charge them. Place them in a dry, well-ventilated area for at least 24-48 hours to allow them to dry completely. If they still don’t work, contact a professional repair service.
Are UV sanitizing boxes actually effective?
Yes, UV-C light is effective at killing bacteria and viruses. However, UV sanitizing boxes primarily sanitize; they don’t physically remove dirt, earwax, or debris. They’re best used as a supplementary cleaning method alongside regular physical cleaning.
Can I use a vacuum cleaner to clean my earbuds?
No! The suction from a vacuum cleaner can damage the delicate internal components of your earbuds. Stick to the methods outlined above.